
Are you looking forward to knowing more about transferring your DNA results? Then you should be glad as you have finally found the perfect blog and here you will be guided through a step-by-step procedure. All you need to do now is read through carefully and follow the instructions provided.
Having DNA results on multiple databases is a good idea since you never know which firm will test your nearest DNA ancestors. Furthermore, by adding your DNA results to multiple databases you get to make sure that you have the best opportunity to make the most of your DNA results. In addition, you can also take advantage of the additional tools which each company provides.
Transferring Your DNA Results
At present, you can upload results from most companies to FamilyTreeDNA, MyHeritage, GEDmatch and Living DNA. However, Ancestry and 23andMe do not accept any uploads currently.
You should keep in mind that some DNA companies have databases which have stronger representation from specific countries, such as Northern Ireland hence transferring your results can have an impact in improving your family history research.
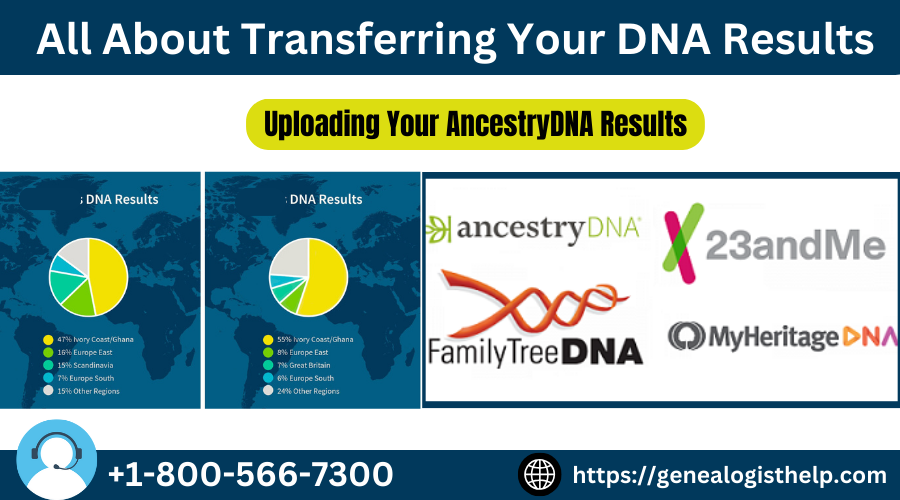
Uploading Your AncestryDNA Results to FamilyTreeDNA and MyHeritage
To begin the process you would first need to download your raw data file from Ancestry to your computer and then upload this ‘Downloaded’ file to FamilyTreeDNA and/or MyHeritage.
Step1 – Download your autosomal raw data file from AncestryDNA
- You would need to start by logging into your Ancestry account and then clicking on DNA on the menu right at the top of the page.
- Next, on the right side of the panel you will need to click on ‘Settings’ and then scroll down to the bottom of the page.
- After that, you should click on the ‘Download’ button which is in the ‘Download DNA Data’ section.
- Now you must enter your account password for Ancestry and make sure to check the tick box then click on the ‘Confirm’ button.
- After doing so, you should check your email account for an email from AncestryDNA with the title stating ‘Your request to download AncestryDNA raw data’.
- In the email received, you should click on the ‘Confirm Data Download’ button and then you should be redirected to the AncestryDNA download page.
- At last, you just need to click on the ‘Download DNA Data’ to begin downloading your raw data file. You must make sure that you remember where you save this current document as you would require it later.
Step2 – Upload your data to FamilyTreeDNA
- You would need to begin by visiting https://www.familytreedna.com/autosomal-transfer and then register the name of the tester, and your email address and also indicate if the DNA that you are uploading is for a male or female. when you begin doing this, you will be asked to attach the file that you downloaded from Ancestry.
- You must also keep in mind that you sign the release form provided.
- Next, you should write down your kit number and your password will be emailed to you.
- You will need these details when you log in to see your DNA results.
- You should also know that you can upload the DNA of multiple people in case you manage more than one DNA account however, each DNA must be uploaded under the name of the tester and will be allocated with a different kit number as well as password.
- After you have finished with this you will have your DNA results within a few hours.
Upload your DNA Results to MyHeritage
- You will first need to go to https://www.myheritage.com/ and now you must log into your account if you already have an account. In case you do not remember your password you can always reset it.
- If you do not already have an account then you would need to first create an account on MyHeritage. This totally depends on how you do this, this program sometimes asks you to record the names of your parents and grandparents.
- Now once you have created an account then you should click on ‘family tree’ and then ‘my family tree’ in the menu right at the top of the current page.
- Then when the tree opens you will see a profile bar displayed on the left side of your screen.
- You need to select the person on the tree who’s DNA you would like to upload. However, if the person is not already on your tree then you should add them to your tree first (add them in the right position) just before you proceed.
- Next, on the profile bar of the person who’s DNA you want to upload you just need to click on the ‘Upload DNA Data’ option.
- You now need to scroll down the page and tick the boxes to accept the terms and conditions, consent agreement etc provided.
- After that, you will need to press the ‘Upload DNA Data’ button and go ahead and attach the file that you downloaded from Ancestry. You should stay on the page until you see a message stating that the upload was successful.
- Now finally, you will receive an email from MyHeritage in a few days letting you know that your DNA results are ready.
Conclusion
The above instructions should definitely help you understand how transferring DNA results works. Moreover, you should be able to manage the same all by yourself without any difficulty after going through this blog.
Need Help ?
If you have any questions or require any additional assistance then you can directly contact the efficient technicians available here +1-800-566-7300 .You can be assured that you will be assisted with the most suitable and useful solutions within the shortest time possible.